Managing and Organizing Projects in LiveCode Create
Efficiently managing and organizing your projects in LiveCode Create helps keep your workspace clean, makes projects easy to locate, and ensures smoother app development. Whether you’re working on one project or multiple, this guide provides best practices and tools to manage projects effectively.
Accessing Your Projects
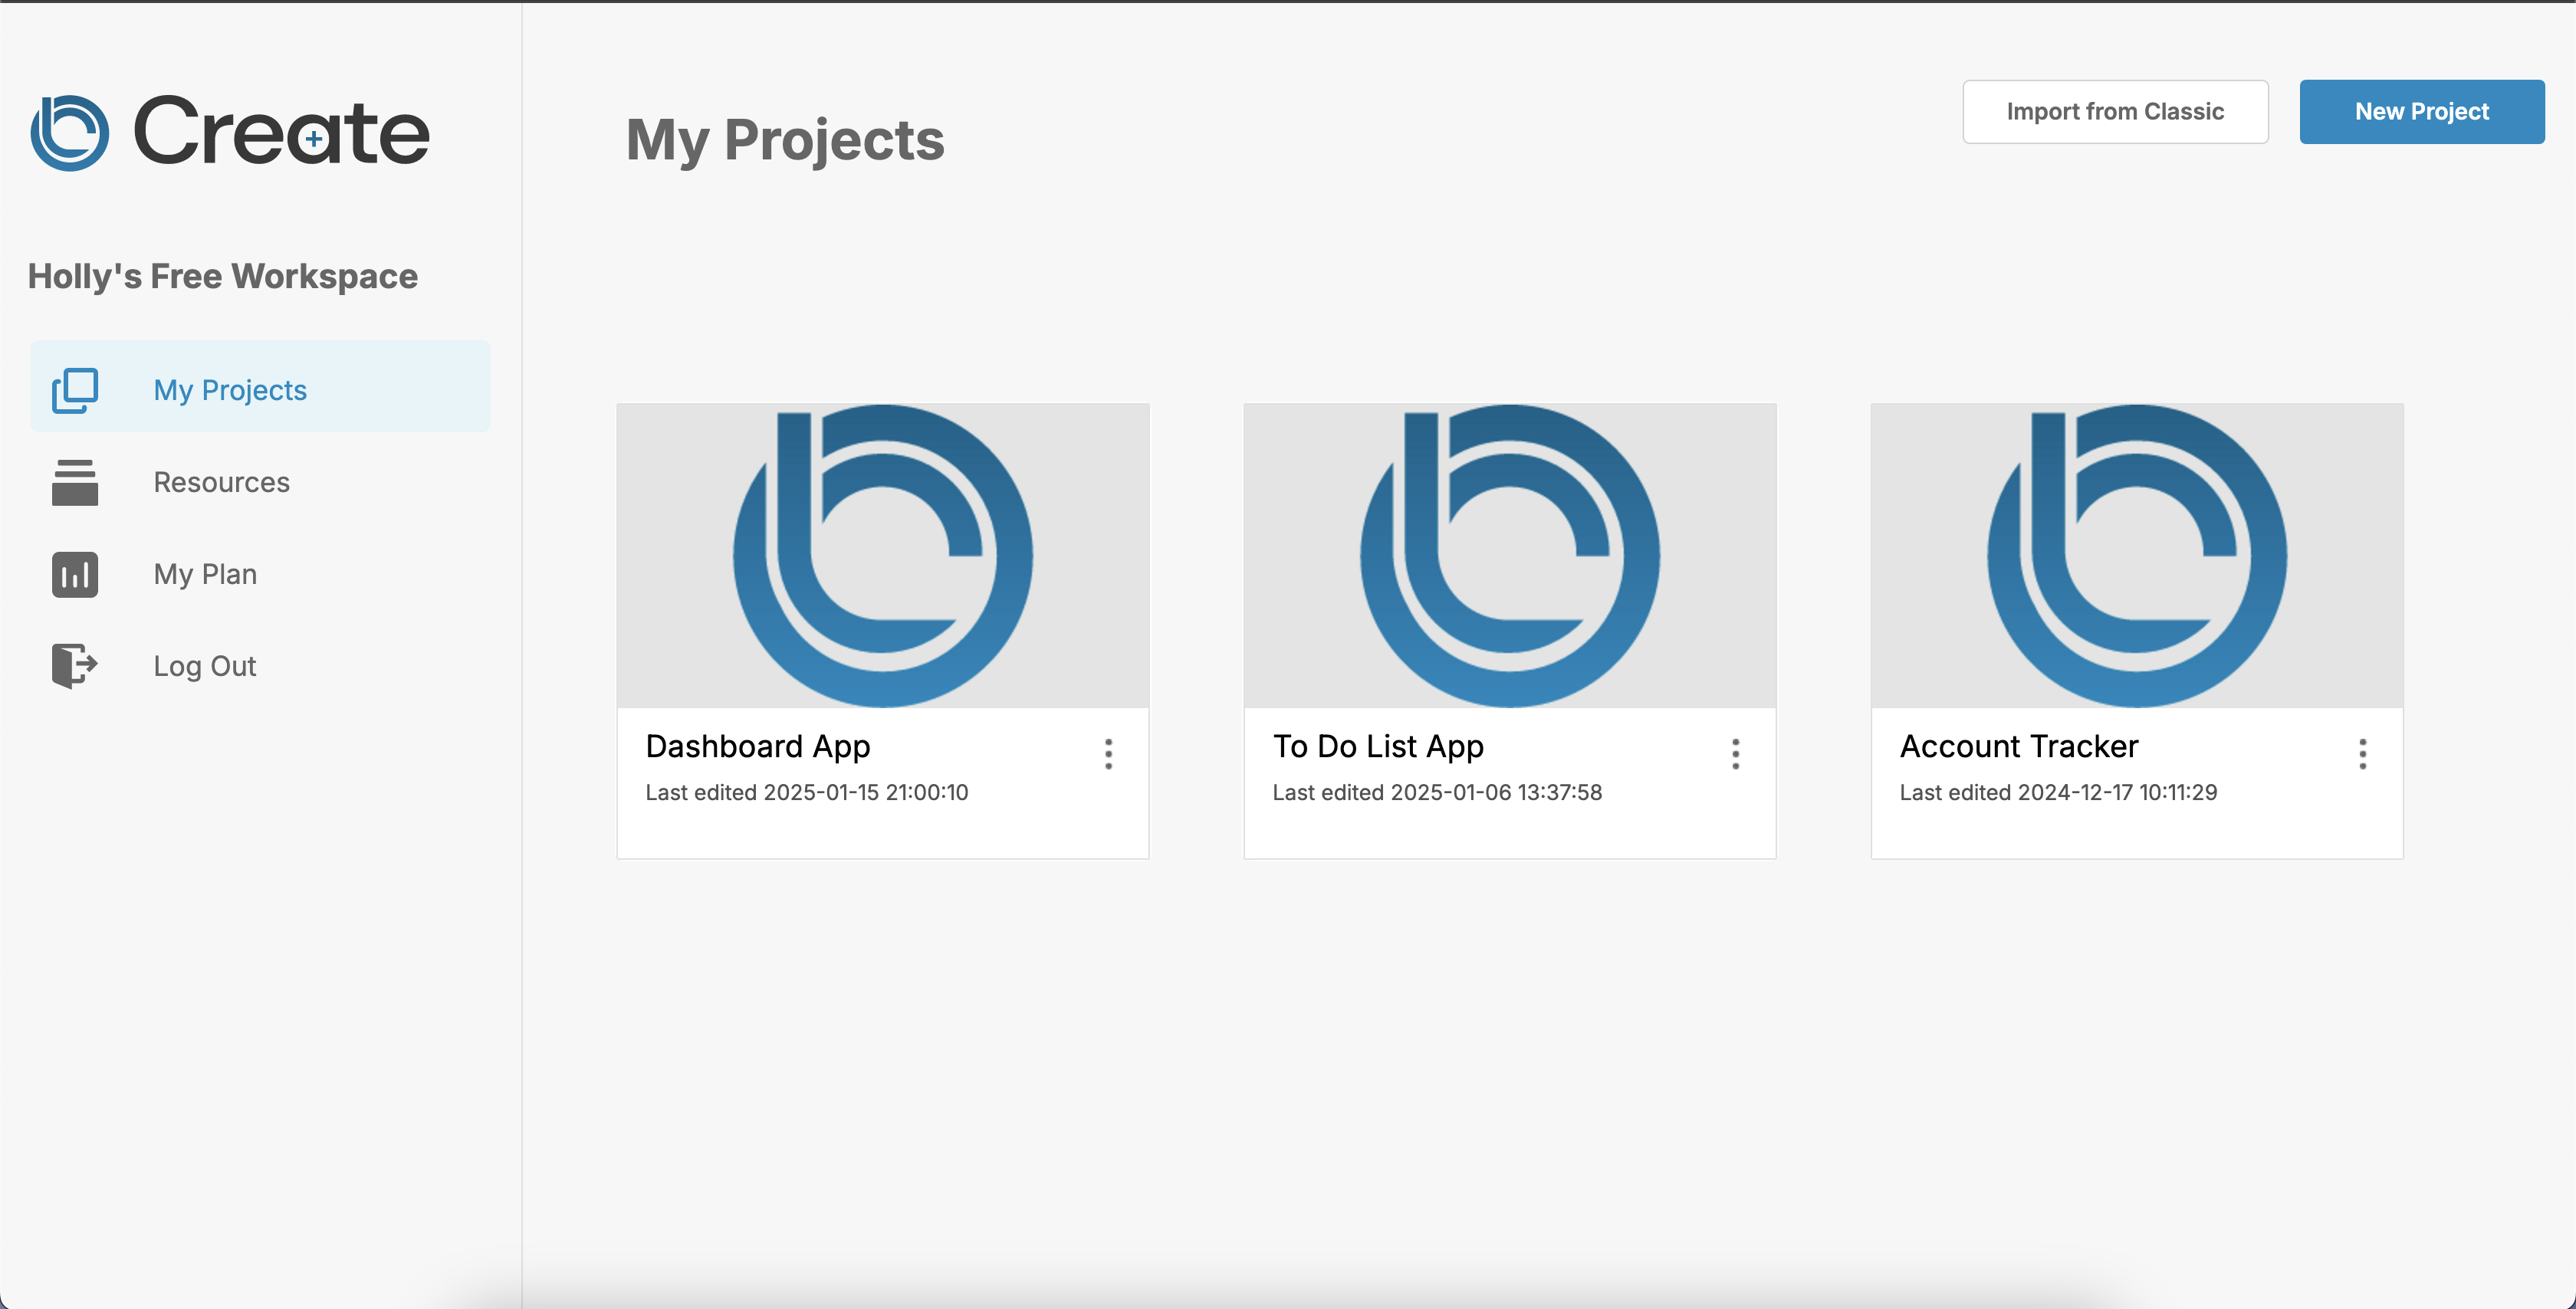
All your projects are stored in your Workspace and can be accessed from the Dashboard:
- Open LiveCode Create and login if required.
- The Dashboard is your home screen, showing a list of all your projects.
- You can create a new project or open, rename, or delete an existing project here.

Organizing Projects
Giving projects meaningful names helps you stay organized and find them easily. You can rename projects from the Dashboard.
- Go to the Dashboard.
- Locate the project you want to rename.
- Click the Settings Icon next to the project name and select the "Rename Project" menu option.
- Update the project name and save.
Example: Instead of “Project 1,” use “To-Do App” or “Expense Tracker 2025.”
Managing Your Project with the Project Browser
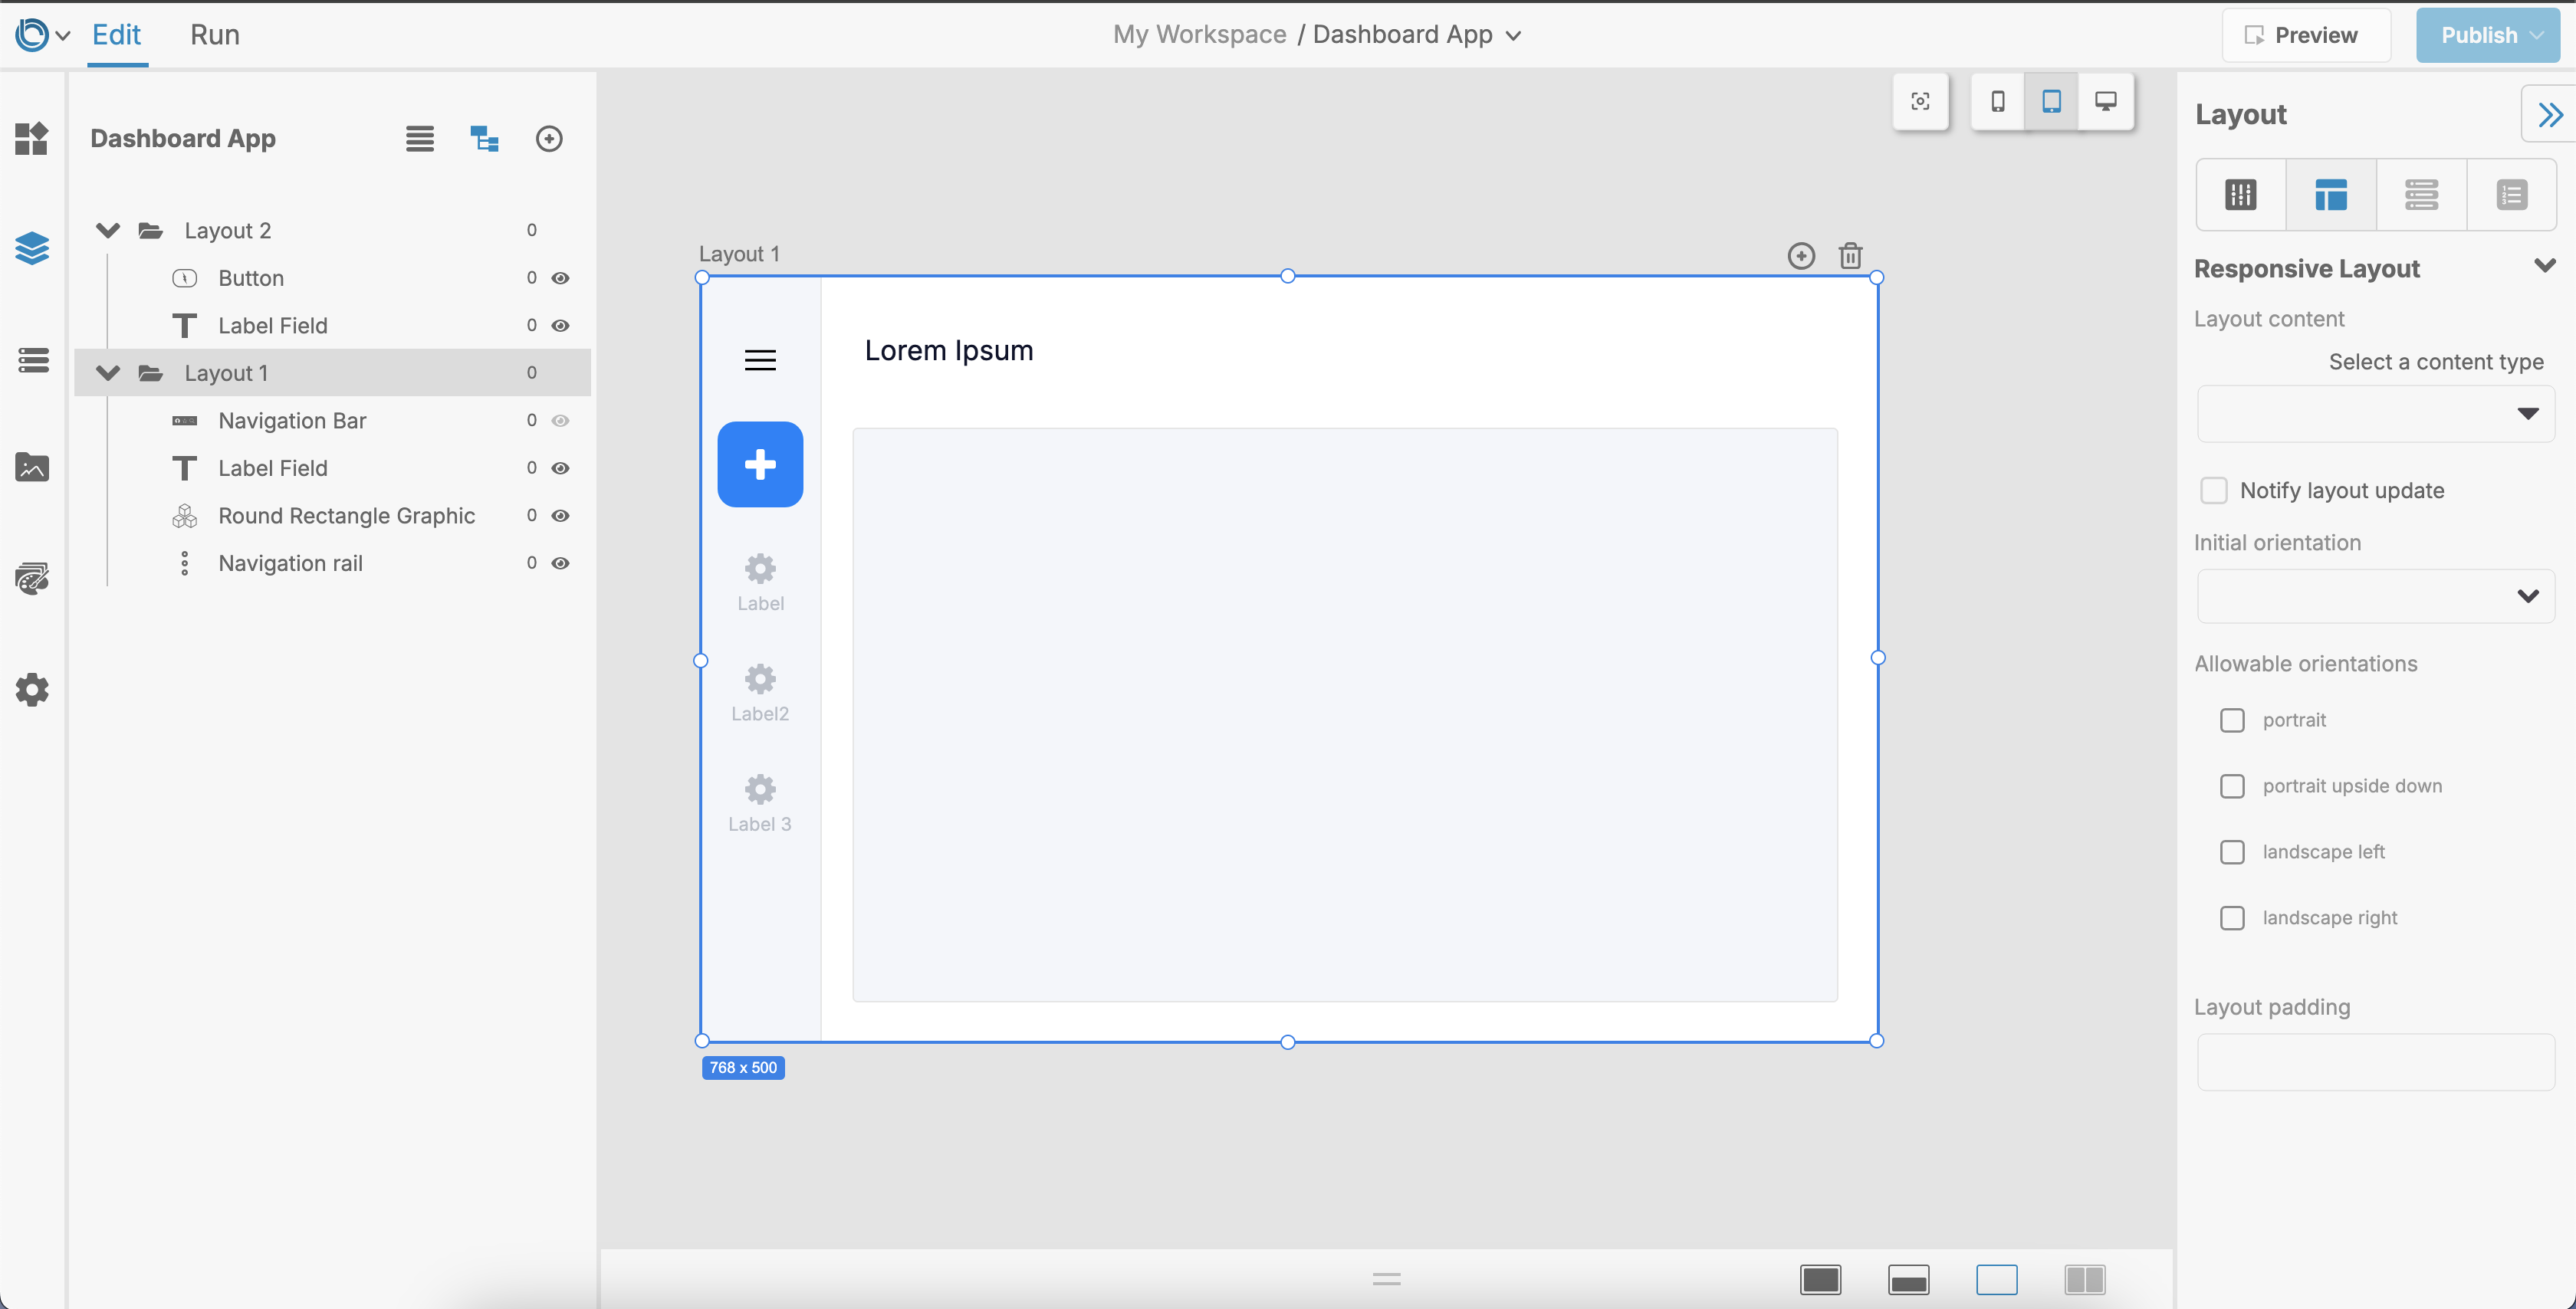
The Project Browser is a powerful tool for managing everything inside a project. It provides a clear overview of your app’s layouts, objects, and widgets, all in a structured tree view. Once you have opened a project from the Dashboard you can access the Project Browser in the left tool bar.
Key Features of the Project Browser
- Layouts: View and manage all layouts in your project (screens or dialogs).
- Widgets and Objects: See all components within each layout.
Using the Project Browser
- Open the Project Browser from the left-hand toolbar.
- Expand or collapse items to explore the project structure.
- Right-click on any item to:
- Edit properties (via the Property Inspector).
- Edit scripts using the Script Editor.
- Duplicate or delete widgets or layouts.
The Project Browser is particularly helpful when working on larger projects, as it allows you to navigate quickly and manage components effectively.
Example: Use the Project Browser to select a layout and delete unnecessary widgets or group items into containers for better organization.

Deleting a Project
To remove a project you no longer need:
- Go to the Dashboard.
- Find the project you want to delete.
- Click the Settings Icon next to the project name and select Delete Project.
- Confirm the deletion.
Warning: Deleting a project is permanent and cannot be undone. Make sure to back up important data before proceeding.
Tips for Managing Projects
- Use Descriptive Names: Always name projects clearly. Avoid generic names like “Test” or “Untitled.”
- Use the Project Browser: Navigate and manage layouts, widgets, and libraries easily.
- Regular Cleanup: Review your Dashboard periodically to delete unused projects or move them to an archive.
For further learning: